A couple of weeks ago I talked about using SSLSplit to at as a proxy so that I could examine the mechanics of a Docker pull. I decided to go ahead a set up a purpose-built VM just for this so I could easily do this again in the future. I wanted to go ahead and document (and share) the steps that I went through for this.
Note: This setup is purposely designed to be permanent. VMs are cheap and I only plan on using these VMs for SSL intercept work so I am deliberately making changes that will prevent normal operation of the systems.
For my intercept VM, I am using a simple Centos 7 VM. I did a minimal install and hard-coded the IP address so that I wouldn’t have to figure out the new IP address every time I booted it up, but other than that I didn’t do anything special.
Install Docker
I am running SSLsplit in a container for a couple of reasons, not the least of which is that it is just easy to make it work. In order to do this, I first have to install Docker on the system. The process of installing Docker is as easy as removing anything that may already be installed, adding the repo, and then installing the software.
sudo yum remove docker docker-client docker-client-latest docker-common docker-latest docker-latest-logrotate docker-logrotate docker-engine
sudo yum install -y yum-utils
sudo yum-config-manager --add-repo https://download.docker.com/linux/centos/docker-ce.repo
sudo yum install docker-ce docker-ce-cli containerd.io
sudo systemctl enable docker
sudo systemctl start docker
Just to make life a little bit easier, I will also be installing Docker Compose to allow for easy operation of the container.
sudo curl -L "https://github.com/docker/compose/releases/download/1.29.2/docker-compose-$(uname -s)-$(uname -m)" -o /usr/local/bin/docker-compose
sudo chmod +x /usr/local/bin/docker-compose
The last thing we’ll do with docker is go ahead and build the docker-compose.yml file. By using this file, I can save on having to enter all of the command line parameters each time I run this and can instead just do a simple docker-up command. My docker-compose.yml looks like this:
sslsplit:
  image: vimagick/sslsplit
  command:
    -k keys/ca.key -c keys/ca.crt -P
    -l logs/connections.log -S logs
    tcp 0.0.0.0 8080
    ssl 0.0.0.0 8443
  net: host
  volumes:
    - ./data:/data
  working_dir: /data
  restart: unless-stopped
Save that file as docker-compose.yml in the base directory of wherever you’re going to be working (since the sole purpose of this VM is to run SSLSplit, I am just doing it in /root.
Host Setup
Now that Docker is ready, there are a few more things to do on the host to get it ready. The first thing is to prepare the file structure for this, and also to generate the certificates that will be needed for this. SSLSplit works, by intercepting the SSL traffic, decrypting it, and then re-encrypting it with its own cert. To start this, we need to generate the certificate so that it can re-encrypt everything.
mkdir -p data/{keys,logs}
openssl req -x509 -newkey rsa:2048 -nodes -keyout data/keys/ca.key -out data/keys/ca.crt -days 3650 -subj '/CN=SSLSplit'
This will first create the directories for the SSL keys that SSLSplit needs, and also the directory where it will dump the logs that are created. These are the same folders referred to in the docker-compose.yml above. Because we put the docker-compose.yml in /root, these folders must also be created in /root.
The next thing to do is to disable firewalld (we’re going to be using IPTables) and then configure IPTables to forward traffic up to the container for intercept.
sudo echo "net.ipv4.ip_forward = 1" >> /etec/systl.conf
sudo sysctl -p
sudo systemctl stop firewalld
sudo systemctl disable firewalld
sudo iptables -P INPUT ACCEPT
sudo iptables -P FORWARD ACCEPT
sudo iptables -P OUTPUT ACCEPT
sudo iptables -F
sudo iptables -X
sudo iptables -Z
sudo iptables -t nat -F
sudo iptables -t nat -X
sudo iptables -t mangle -F
sudo iptables -t mangle -X
sudo iptables iptables -t raw -F
sudo iptables -t raw -X
sudo iptables -t nat -N SSLSPLIT
sudo iptables -t nat -A SSLSPLIT -p tcp --dport 80 -j REDIRECT --to-ports 8080
sudo iptables -t nat -A SSLSPLIT -p tcp --dport 443 -j REDIRECT --to-ports 8443
sudo iptables -t nat -A PREROUTING -j SSLSPLIT
sudo iptables-save
The final step is to go ahead and start the container with the simple command:
sudo docker-compose up -d
Victim Setup
In this case, the “victim” will be another Centos 7 box that will be used solely to generate the traffic for these tests. I went into the network configuration of the host and set the default gateway for it to point to the SSLSplit machine that we configured above. This will force all traffic heading to the Internet to go through the system.
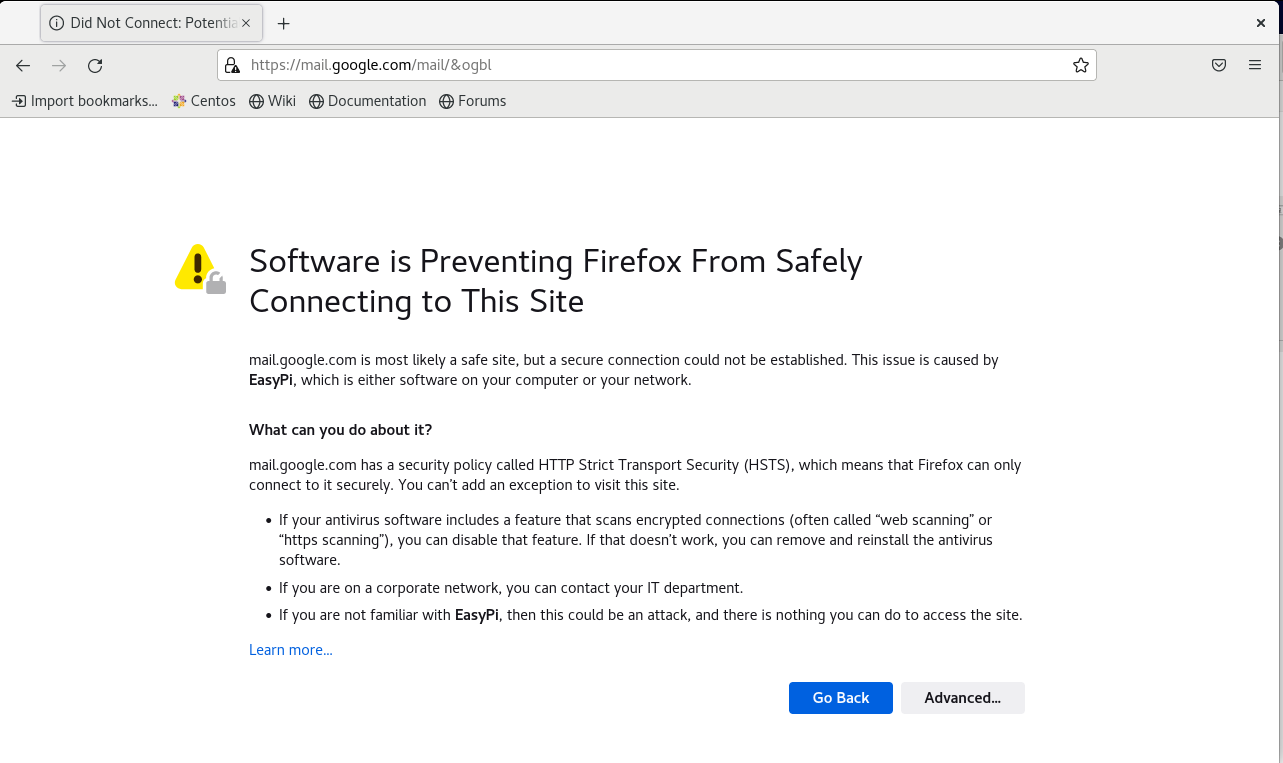
Now I need to install the certificate that we generated on the other system so that it is automatically trusted. Without this step, we would always get an SSL Error for using a self-signed certificate.
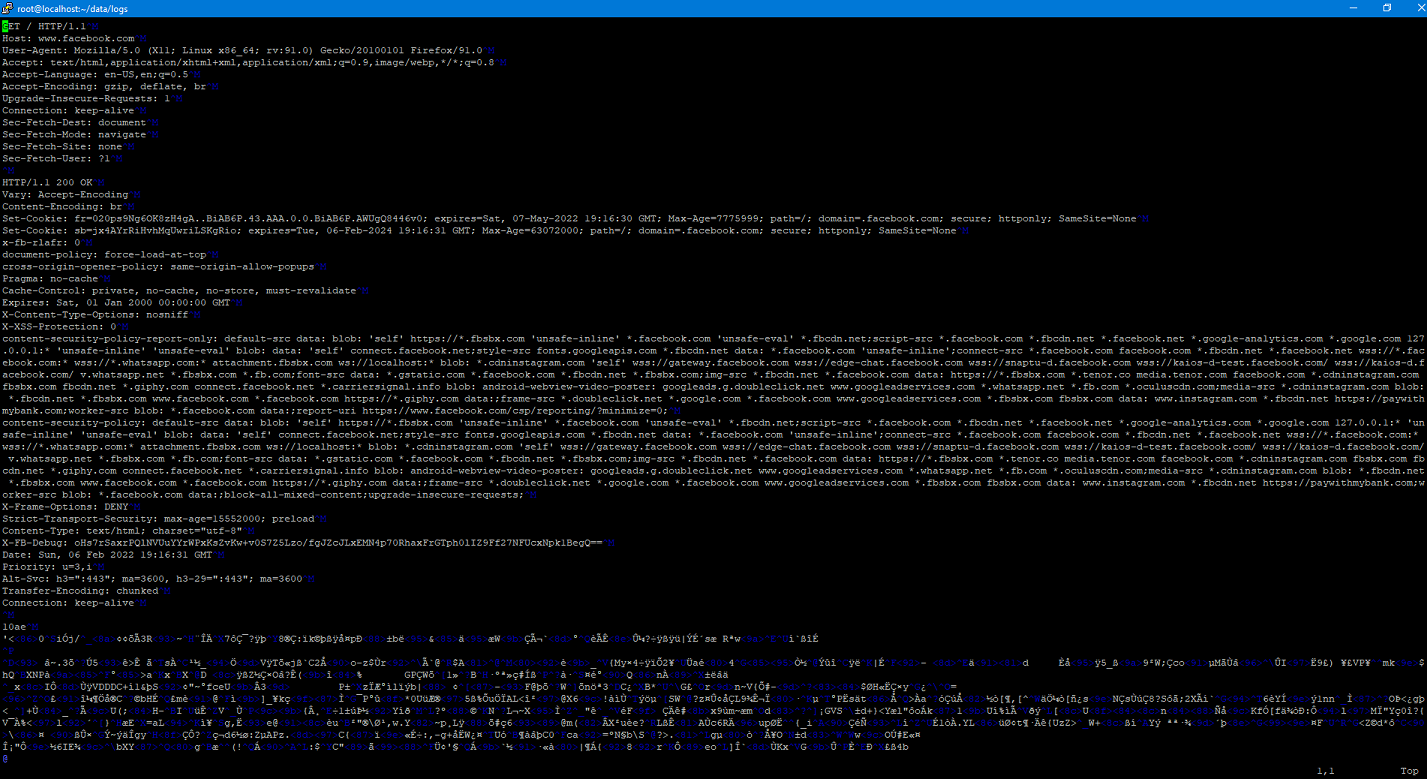
To do this, we need to get the public certificate from SSLSplit system onto our victim system. How you get it onto the other system is completely up to you but at the end of the day it needs to end up in /etc/pki/ca-trust/source/anchors/. After that, run the command update-ca-trust. If you have Firefox or another browser already open, restart it. Now simply browse to any HTTPS website that you like. On the SSLSplit system if you go into data/logs you should see the log files including connection content for all of these connections.